The first time I watched my grandfather prep a room for painting, I was convinced he was wasting time. I was ten, armed with boundless energy and zero patience, eager to see color transform the walls of his Portland bungalow’s living room. But Pop spent nearly two full days just getting ready—filling nail holes, sanding rough spots, cleaning surfaces, carefully taping trim—before a single drop of paint touched the walls. When I complained about the delay, he just smiled. “Mikey,” he said, pushing his painter’s cap back, “anybody can slap paint on a wall. The difference between a job and a good job happens before you ever pop the lid.”
That lesson stuck with me through decades of home renovations, and I’ve seen its truth confirmed in hundreds of DIY painting projects gone wrong. The line between amateur and professional-looking results isn’t about expensive equipment or special paint—it’s about techniques, patience, and knowing the secrets that painting contractors rarely share with homeowners. After all, if everyone knew how to get pro-level results, they might be out of a job.
I learned most of these lessons the hard way. When Andrea and I bought our Minneapolis Tudor, I approached our first interior painting project with typical engineer overconfidence. “How hard could it be?” I reasoned, having painted several apartments and my Chicago condo without disaster. Two days later, I was staring at visible roller marks, paint bleeding under tape lines, and a ceiling with what Andrea kindly described as “interesting texture.” The difference? Those previous projects involved modern drywall in good condition. Our 1930s plaster walls, with their decades of settling, previous repairs, and variable porosity, demanded techniques I hadn’t needed before.
That weekend debacle launched a painting education that’s served me well through countless renovation projects. The most valuable lesson? There’s no single “right way” to paint—different homes, surfaces, and regional conditions require different approaches. What works perfectly on new construction in arid Arizona might fail miserably in a humid Florida bungalow or a drafty Minnesota Victorian.
Let’s start with the foundation of any successful paint job: proper preparation. I can’t emphasize this enough—good prep isn’t just helpful, it’s absolutely essential for professional results. For older homes with plaster walls like ours, this often means addressing underlying issues that modern homes don’t face. Our living room walls had hairline cracks from decades of seasonal movement. Simply painting over them would have been a waste of expensive paint; they’d have reappeared within months.
Instead, we used a microfiber mesh tape designed for plaster repair, covered with a setting-type compound (not regular joint compound, which shrinks too much for these applications). This approach creates a flexible reinforcement that moves with the wall rather than fighting against it. For smaller cracks, a quality elastomeric caulk worked wonders—it expands and contracts without cracking. The extra day this prep added to our timeline saved us from looking at failed repairs within a single heating season.
Surface cleaning is another prep step too many DIYers minimize. A client in Boston had painted her dining room three times in five years, each time frustrated when the new paint failed to adhere properly in certain areas. The culprit? Decades of cooking residue from the adjacent kitchen had created an almost invisible film on the walls. No amount of quality paint will stick properly to grease or silicone residue. We washed her walls with TSP substitute (the original trisodium phosphate is now restricted in many states due to environmental concerns), and her next paint job lasted years without issue.
Regional humidity variations dramatically impact paint application. Working on a project in New Orleans taught me lessons I’d never needed in drier climates. The homeowners had repeatedly experienced paint failure—bubbling, uneven drying, and poor adhesion—despite using quality products. The issue wasn’t the paint but the application environment. In high-humidity areas, slowing down the painting process becomes essential. We adjusted by working in smaller sections, allowing proper drying time between coats (often significantly longer than the manufacturer’s recommendations), and using dehumidifiers to create more favorable conditions. The difference was dramatic—a smooth, even finish that had eluded them through multiple previous attempts.
Tool selection matters more than most homeowners realize. For a renovation in Phoenix, I watched in horror as the homeowner prepared to paint their newly refinished living room with discount rollers from a big box store. The $3 they “saved” would have cost them hundreds in additional paint and labor to correct the inevitable shedding, uneven coverage, and poor transfer that cheap rollers deliver. I gently guided them toward quality roller covers appropriate for their wall texture and paint type—a $15 investment that dramatically improved their results.
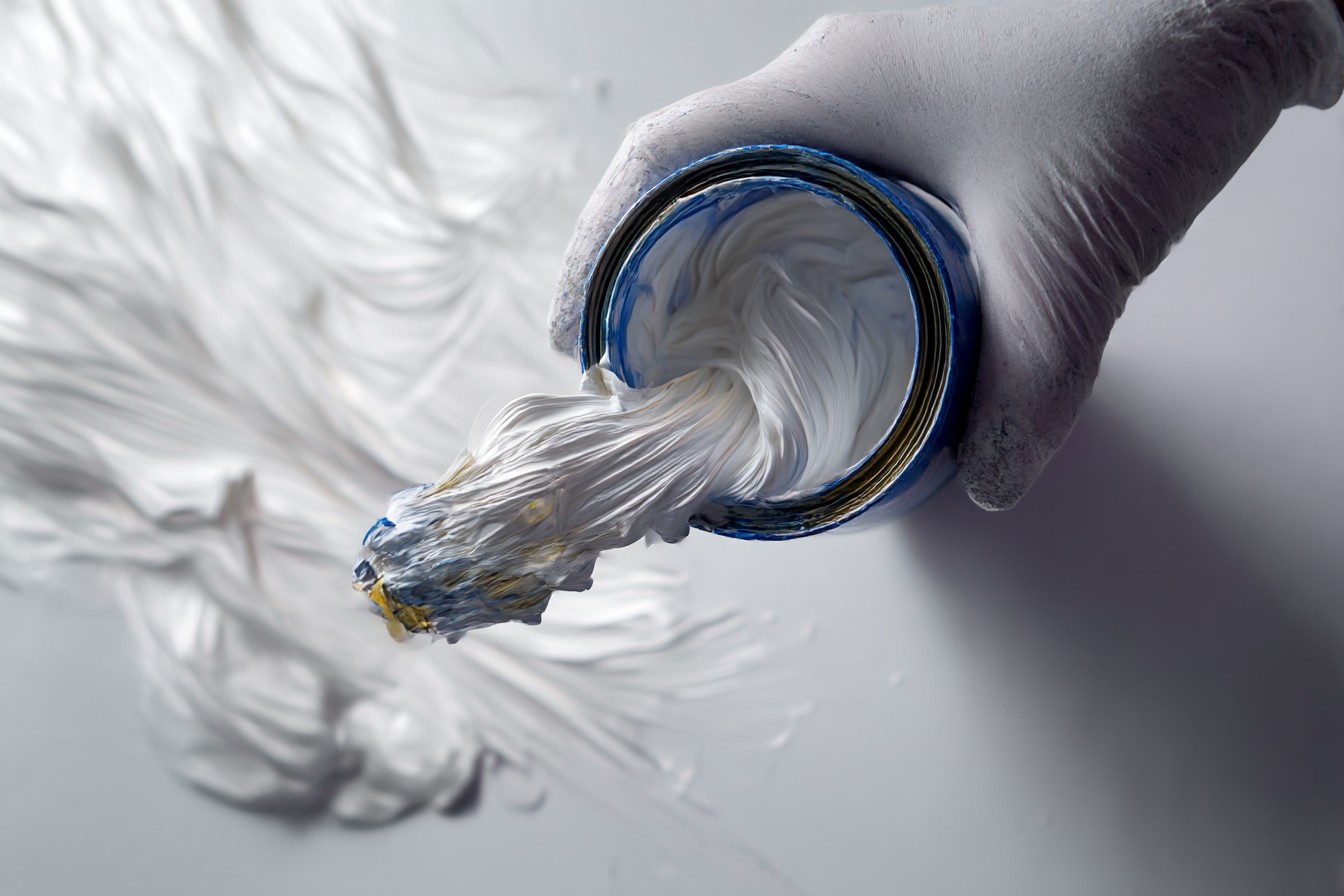
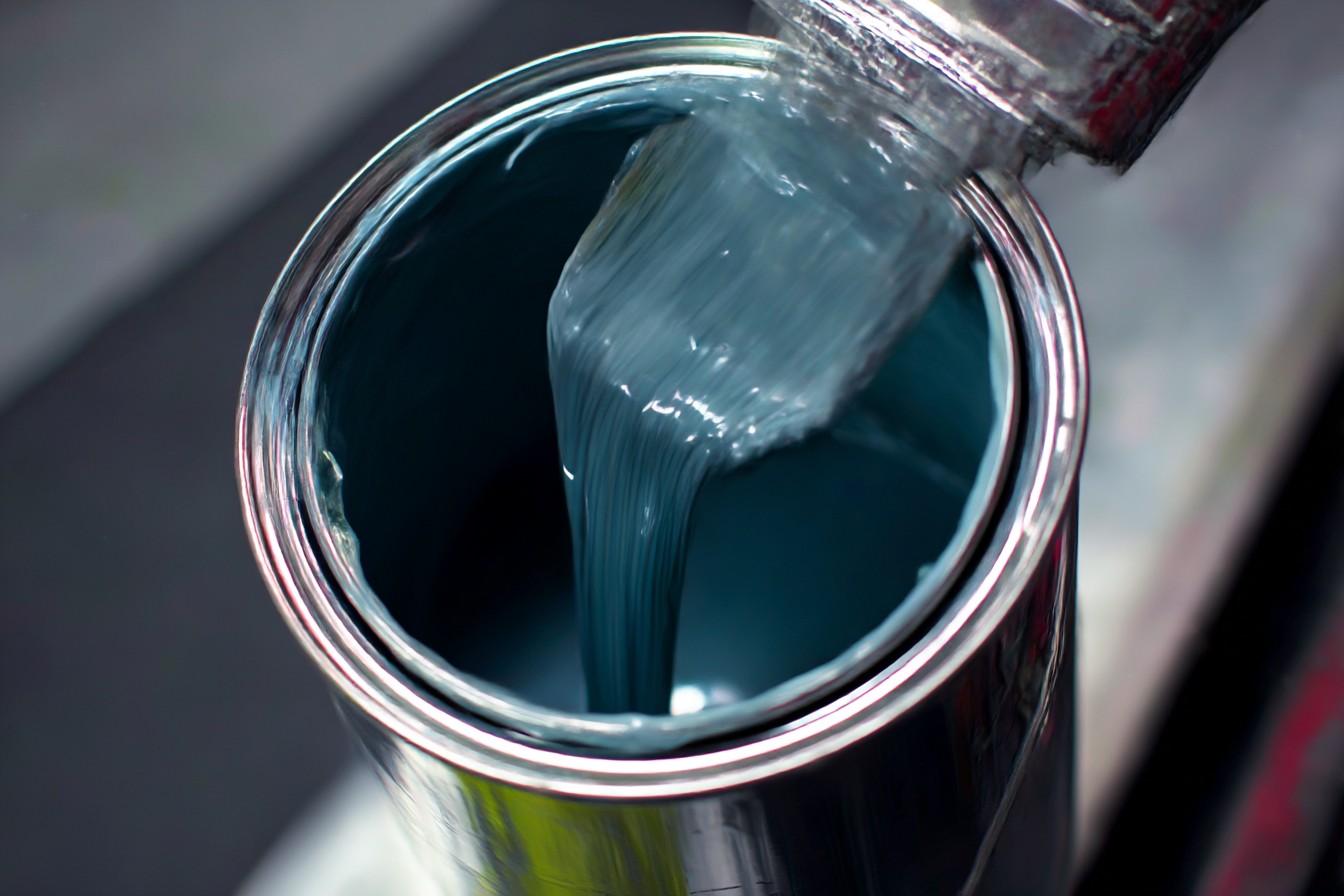
Here’s a trade secret: professional painters often don’t use the built-in paint trays that come with roller kits. Instead, they use 5-gallon buckets with roller screens. This setup holds more paint (reducing frequency of refills), keeps paint from drying out as quickly, and eliminates the tipping hazard of traditional trays. For under $10, this simple switch can profoundly improve your painting experience. Just be sure to use a bucket grid designed for your roller size—a 9-inch roller needs a 9-inch grid to avoid damaging the roller ends.
The actual application technique separates amateur from professional results more than any other factor. During a kitchen remodel in Chicago, I noticed the homeowner using what I call the “frantic W” technique—rapidly zig-zagging paint across the wall before attempting to spread it evenly. This approach virtually guarantees uneven coverage and visible roller lines. Instead, I demonstrated the “loaded vertical pass” method: fully saturating the roller, applying paint in straight, slightly overlapping vertical strokes without lifting the roller, then lightly “laying off” with minimal pressure in a single direction for the final pass. The difference was immediately visible—uniform coverage without the roller stipple variations that scream “DIY job.”
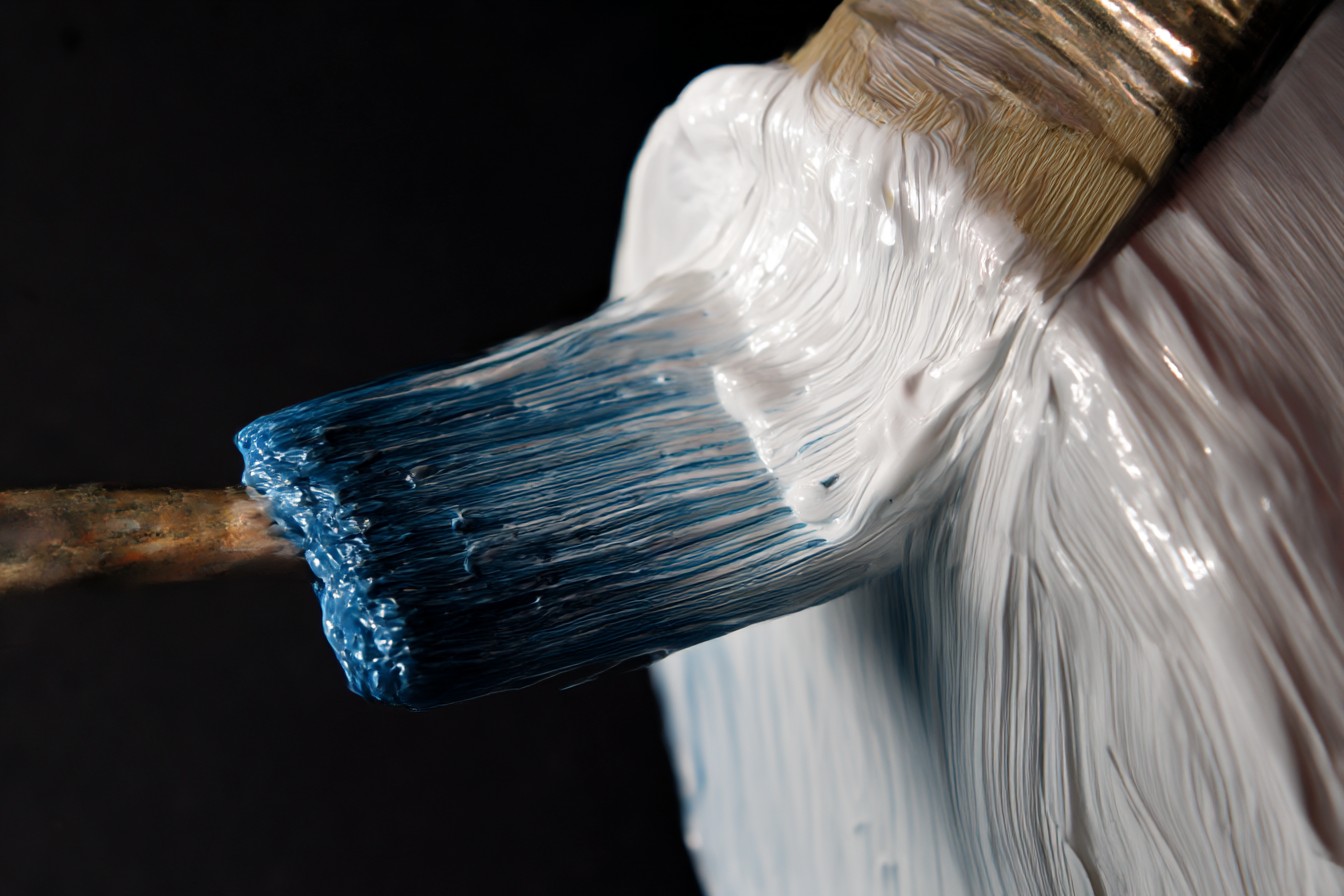
For cutting in (painting edges where walls meet ceilings, trim, or other walls), brush selection becomes critical. A quality 2½-inch angled sash brush might cost $15-20 compared to a $5 bargain version, but the difference in performance is remarkable. The better brush holds more paint, releases it more evenly, and creates cleaner lines with less effort. During a workshop I conducted for first-time homeowners in Minneapolis, switching their bargain brushes for quality ones cut their edge-painting time nearly in half while dramatically improving their line precision.
Speaking of cutting in, here’s another professional technique rarely shared with homeowners: skip the tape for most situations. Yes, really. While painter’s tape has its place (particularly for less experienced painters working on contrasting colors), most professionals prefer freehand cutting in for standard wall-to-ceiling transitions. Why? Even the best tape can allow bleeding underneath, requires additional time to apply and remove, and often pulls off bits of the previous paint layer when removed. With a quality brush and a steady hand, cutting in freehand delivers cleaner lines in less time. If your hand isn’t steady yet, try using a paint shield—essentially a flexible guide you hold against the surface—which offers more control than tape while being reusable and repositionable.
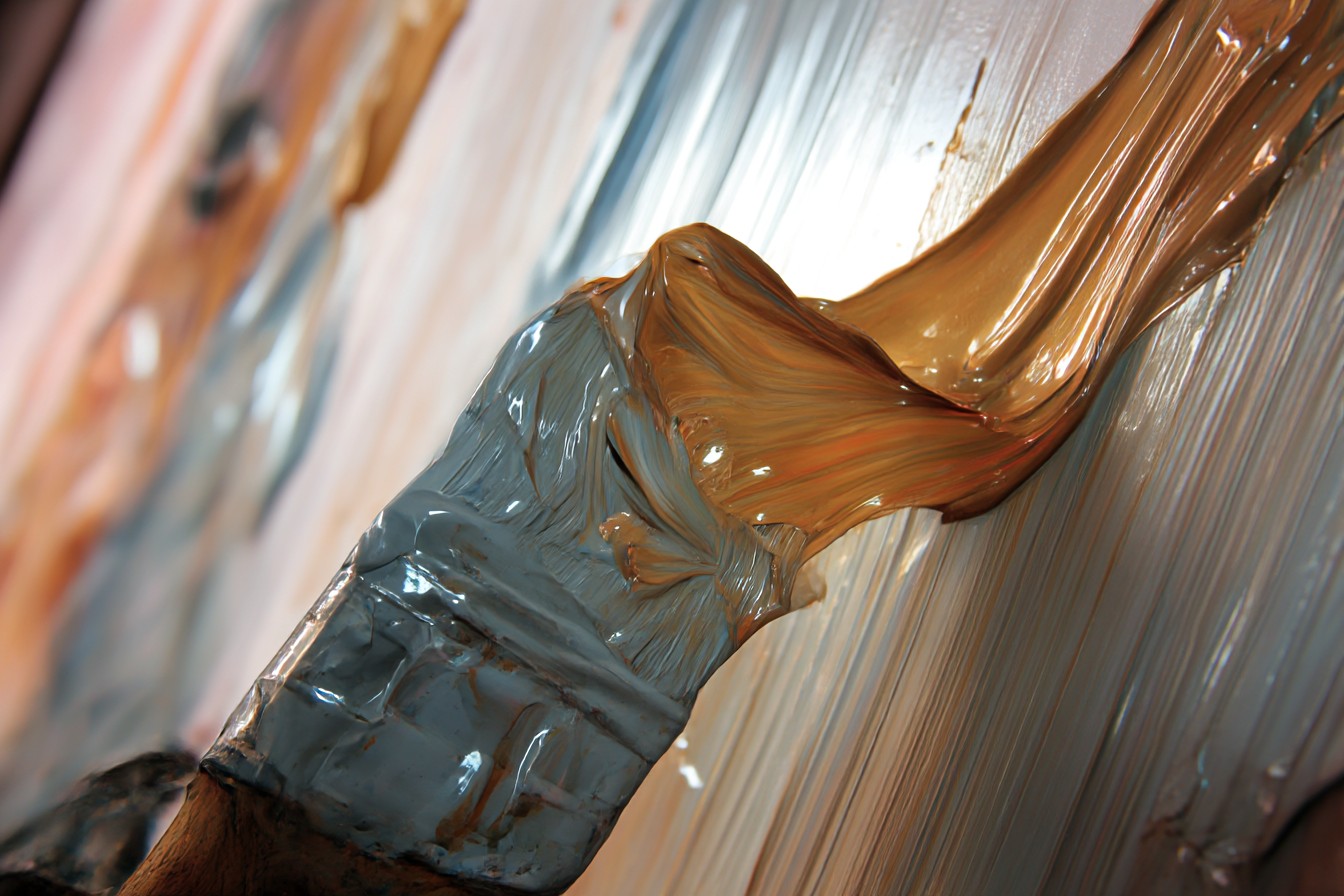
One technique that dramatically improved my own painting was learning proper roller loading. Many DIYers make the mistake of lightly dipping just the surface of the roller in paint, then rolling it extensively to “spread out” the minimal amount collected. This creates thin, uneven coverage that requires additional coats. Instead, professional painters fully submerge the roller (without drowning the handle), then roll it on the grid or tray to evenly distribute paint throughout the nap. A properly loaded roller should look fully saturated but not dripping—this delivers the optimal amount of paint for smooth, even coverage.
Temperature considerations impact paint performance significantly. A client in Denver attempted interior painting during a January cold snap, keeping the house at 62°F to save on heating costs. The results were predictably disappointing—uneven coverage, poor flow-out, and extended drying times that allowed dust to settle into the wet surface. Most latex paints perform best when applied in temperatures between 65-85°F, with surfaces at similar temperatures. This becomes especially important when painting exterior surfaces or unheated spaces like garages and basements. For our Minneapolis home, we schedule interior painting projects during moderate seasons when we can maintain consistent temperatures without straining our HVAC system.
Paint sheens are another area where regional considerations come into play. In humid environments like Florida or the Pacific Northwest, higher sheens (satin or semi-gloss) on walls offer better moisture resistance and cleanability. In drier regions, flatter sheens can be used more extensively without concerns about moisture damage. For our Minneapolis Tudor’s living room, we initially selected a flat paint for its elegant appearance and ability to hide wall imperfections. Within two years, we were repainting with eggshell finish after discovering that the flat paint became easily damaged in our household with children and pets. The minimal additional sheen provided significantly improved durability without creating undesirable reflection issues.
Application tools have evolved significantly in recent years, with innovations that can dramatically improve DIY results. For a challenging project in a Boston brownstone with 12-foot ceilings and ornate crown molding, we introduced the homeowners to extension poles with roller adapters—a simple addition that eliminated their need for precarious ladder work while improving application consistency. For their intricate trim, a paint pad (essentially a flat, fabric-covered applicator) delivered better results in less time than traditional brushes, particularly for the complex curves of historical millwork.
One of the most overlooked aspects of professional-quality painting is adequate coverage. A St. Louis client was frustrated by wall color that appeared dramatically different in changing light conditions. The issue wasn’t the paint color but insufficient coverage—they’d applied just one coat over a significantly darker previous color. Most quality paints require a minimum of two coats for proper color development and durability, regardless of what the can promises about one-coat coverage. For dramatic color changes, tinted primers can reduce the number of topcoats needed while improving final appearance.
Speaking of primers, their importance cannot be overstated for certain situations. When helping my sister Eliza with her Michigan home’s kitchen, I discovered she’d been advised to skip primer when covering the previous latex paint with a similar color. This advice might be acceptable for walls in good condition with similar colors, but her kitchen had specific issues that demanded primer: areas of patched drywall, slight grease residue near the range, and previous water stains from a long-resolved plumbing leak. We applied a stain-blocking primer to these specific areas before painting, ensuring the topcoats would appear even and preventing future bleed-through of stains. The targeted approach saved time and materials compared to priming the entire room unnecessarily.
The finishing technique—what you do with your final coat—often determines whether your paint job looks professional or amateur. A common DIY mistake is continuing to brush or roll an area after the paint has begun to set, creating dragged areas and uneven texture. For a living room project in our Minneapolis home, I demonstrated to Andrea the “wet edge” technique: working in sections small enough that the previously applied paint remains workable, moving systematically across the wall, and avoiding the temptation to go back and “fix” areas that have already begun to set. This approach eliminates the stop/start lines that often betray amateur application.
Clean-up procedures impact both your tools’ longevity and your next painting experience. For a workshop with first-time homeowners, I demonstrated proper brush and roller cleaning techniques—not just rinsing until the water runs clear, but working the paint out from the base of bristles using appropriate solvents for the paint type, reshaping brushes with their original covers, and storing properly to maintain their performance. Quality brushes can last through dozens of projects with proper care, making their initial cost insignificant compared to repeatedly buying disposable versions.
For cabinet painting—possibly the most technique-dependent painting project homeowners tackle—application tools can make or break your results. When consulting on a kitchen refresh in Denver, I steered the homeowners away from traditional brushes toward high-density foam rollers and quality synthetic brushes specifically designed for smooth surfaces. The foam rollers eliminated brush marks while providing even coverage, while the specialized brushes allowed precise cutting in around hardware and panel details. Combined with thorough preparation (degreasing, light sanding, and appropriate primer), these tool choices helped deliver factory-like finish quality that has held up beautifully for years.
The environmental conditions during drying are just as important as those during application. A client in Seattle painted their bathroom beautifully, only to discover strange streaking and water spots days later. The culprit? Showering too soon after painting, before the paint had fully cured. Most latex paints dry to the touch within hours but require 7-30 days to fully cure depending on ventilation, humidity, and temperature. During this curing period, the paint remains vulnerable to damage from moisture, cleaning chemicals, and even oils from skin contact. For spaces like bathrooms and kitchens, planning for adequate curing time before returning the room to normal use can prevent disappointing results.
If I’ve learned anything from years of painting projects across different regions and housing styles, it’s that there’s no substitute for methodical preparation, quality materials, and technique-driven application. The satisfying transformation of a well-painted room doesn’t happen by accident or merely by buying expensive paint. It comes from understanding how paint interacts with your specific surfaces, regional conditions, and environmental factors—then adjusting your approach accordingly.
As my grandfather would say, anyone can make a room a different color. The art lies in making it look like it was always meant to be that way. And that art, like most valuable skills, comes from patience, practice, and learning a few professional secrets that turn frustrating experiences into satisfying transformations. Just remember to turn off your cell phone before you open the paint can—nothing ruins a perfect cutting-in line like a poorly timed ringtone. That lesson cost me three hours of clean-up and a very understanding wife.