The moment of truth hit me last Thanksgiving when my mother-in-law gently asked if our upstairs bathroom “was going for a vintage look.” The bathroom wasn’t vintage—it was just plain tired. Dingy beige tile from the 90s, a builder-grade vanity with those weird brass handles shaped like seashells, and a mirror that had started to develop that creepy black spotting around the edges. I’d been so focused on the kitchen renovation and finishing the basement that I’d completely overlooked the bathroom our guests actually used.
The problem? We didn’t have the budget, time, or frankly, the emotional energy for another full renovation. We’d just survived six weeks without a functional kitchen, and the thought of dealing with a torn-up bathroom made both Andrea and me break out in cold sweats. But ignoring it wasn’t an option anymore. My mother-in-law’s diplomatic question had made it impossible to unsee just how dated the space had become.
That’s when I remembered advice I often give clients but had somehow forgotten to apply to my own home: not every space needs a complete tear-out to look dramatically better. Sometimes strategic updates to key elements can transform a room for a fraction of the cost and disruption.
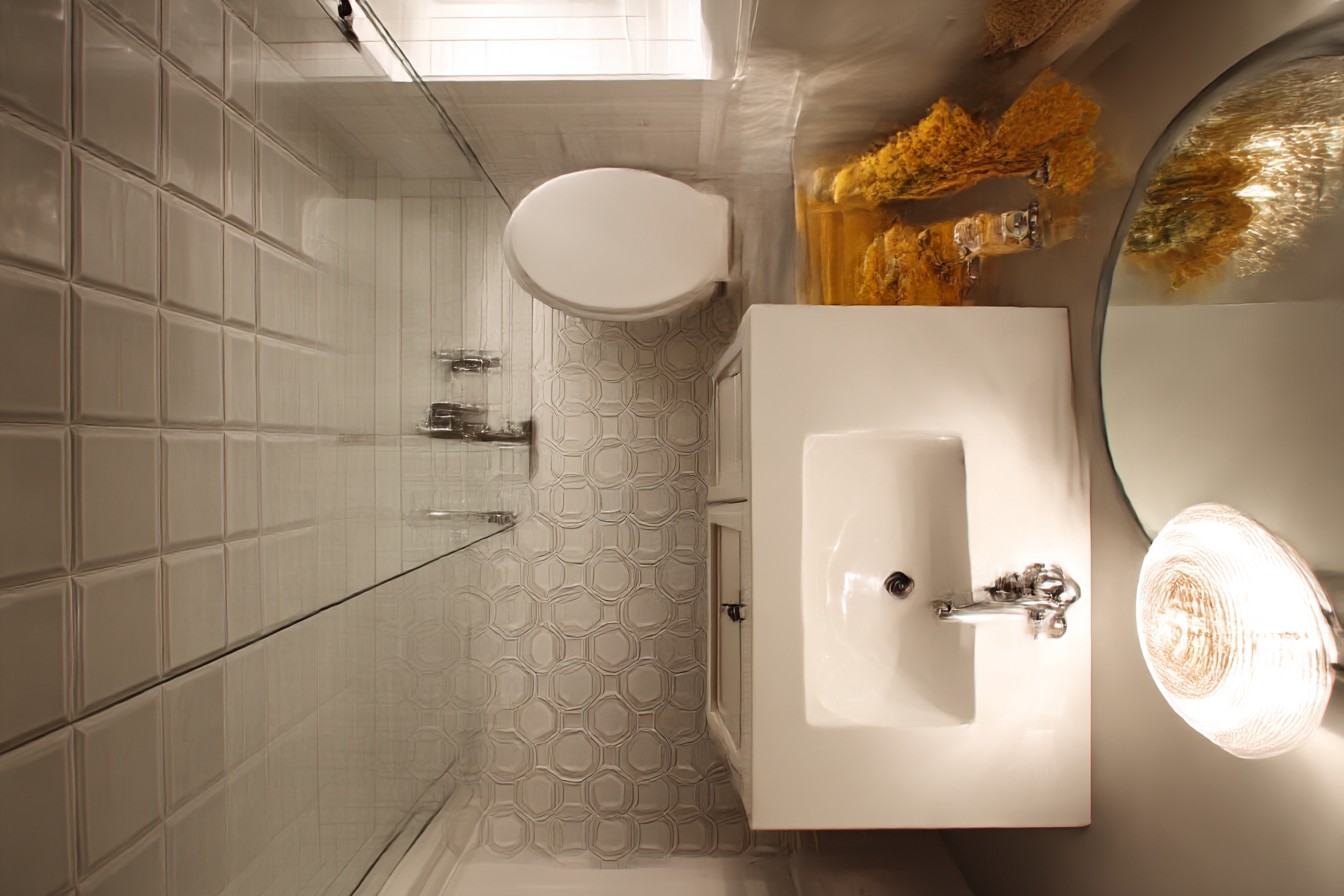
Over one weekend and for less than $800, we gave that bathroom a refresh that made it feel like an entirely different space. The best part? Not a single tile was removed, no plumbing was relocated, and we never lost use of the bathroom for more than a few hours at a time. When Andrea’s parents visited again at Christmas, her mom actually asked which contractor we’d used for the “renovation.” The look on her face when I told her we’d done it ourselves in a weekend was worth every penny.
First, let’s get real about expectations. A cosmetic refresh isn’t going to fix fundamental layout problems or replace damaged infrastructure. If your bathroom has serious issues like water damage, cracked tiles, or a dysfunctional layout, you probably need a proper renovation. But if your bathroom is functional but ugly? That’s refresh territory.
The secret to a successful bathroom refresh is understanding the visual hierarchy of the space—which elements draw the eye and make the strongest impression. In most bathrooms, the vanity, mirror, lighting, and shower/tub surround dominate visually. Change those elements, and you change how the entire room feels, even if the tile floor from 1992 is still lurking below.
Let’s start with the single most transformative update: the vanity. In our case, that builder-grade oak cabinet with its fake marble top was dating the entire room. But replacing it completely would have meant plumbing work and potential tile repair—exactly what we were trying to avoid. The solution? A phased approach that essentially created a new vanity without removing the existing cabinet box.
First, we removed the dated cabinet doors and hardware. I built simple shaker-style replacement doors using 1×3 pine boards and ¼-inch plywood panels—basic carpentry that any homeowner with a saw and drill can handle. Total cost for materials was about $65, and it took one Saturday morning. After priming and painting everything a deep navy blue (Sherwin Williams Naval, if you’re curious), the vanity base looked completely custom.
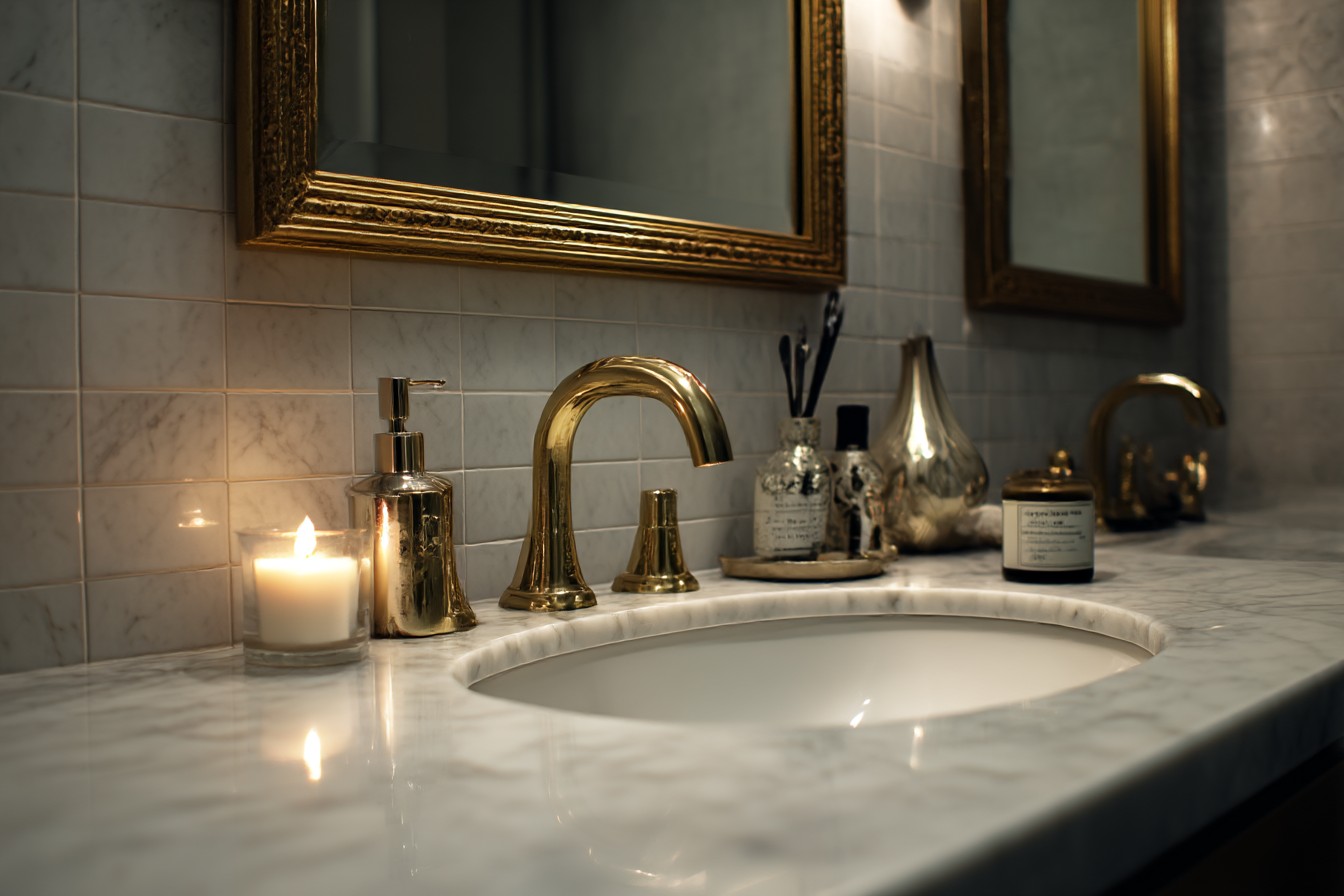
The dated faux-marble countertop was next on the chopping block. For years, replacing countertops meant calling in professionals, but the market has evolved. We found a prefabricated quartz countertop with an integrated sink at a big box store for $220. These come in standard sizes that fit common vanities, and many include pre-drilled faucet holes. The old top popped off with minimal persuasion from a pry bar, and the new one dropped into place with some silicone adhesive. The most technical part was connecting the drain assembly, which is straightforward if you follow the included instructions.
Speaking of faucets, replacing dated fixtures might be the highest impact-to-effort ratio in bathroom updates. That 90s polished brass faucet with the clear acrylic handles? Gone, replaced with a simple matte black single-handle model for $89. The installation took about 20 minutes and required nothing more exotic than an adjustable wrench and some plumber’s tape. Just make sure your new faucet matches the hole configuration in your countertop or prepare to use the included deck plate to cover extra holes.
The bathroom mirror is often overlooked in refresh projects, but it makes a huge visual impact since it’s right at eye level. Our old builder mirror was that plain sheet glass affixed directly to the wall with glue blobs—a standard feature in homes built from the 70s through early 2000s. Removing these can be a nightmare involving broken glass and damaged drywall, so we took a different approach.
We created a frame that attached directly over the existing mirror, instantly transforming it from “apartment basic” to “custom feature.” I used 1×3 pine boards cut with mitered corners, painting them the same navy blue as the vanity for cohesion. The frame attached to the mirror with mirror adhesive (a special type that bonds to the glass surface). Total cost: about $25 in materials and an hour of work.
Lighting changes everything in a bathroom. Those exposed-bulb vanity strips that populate builder bathrooms everywhere cast harsh shadows and unflattering light—not what anyone wants when they’re checking their appearance. We replaced ours with a three-light fixture featuring frosted glass shades for about $75. This is where I’ll insert my standard electrical work warning: always turn off the breaker before doing any electrical work, and if you’re not comfortable with basic wiring, this is worth calling a professional for. Most electricians can swap a bathroom light in under an hour.
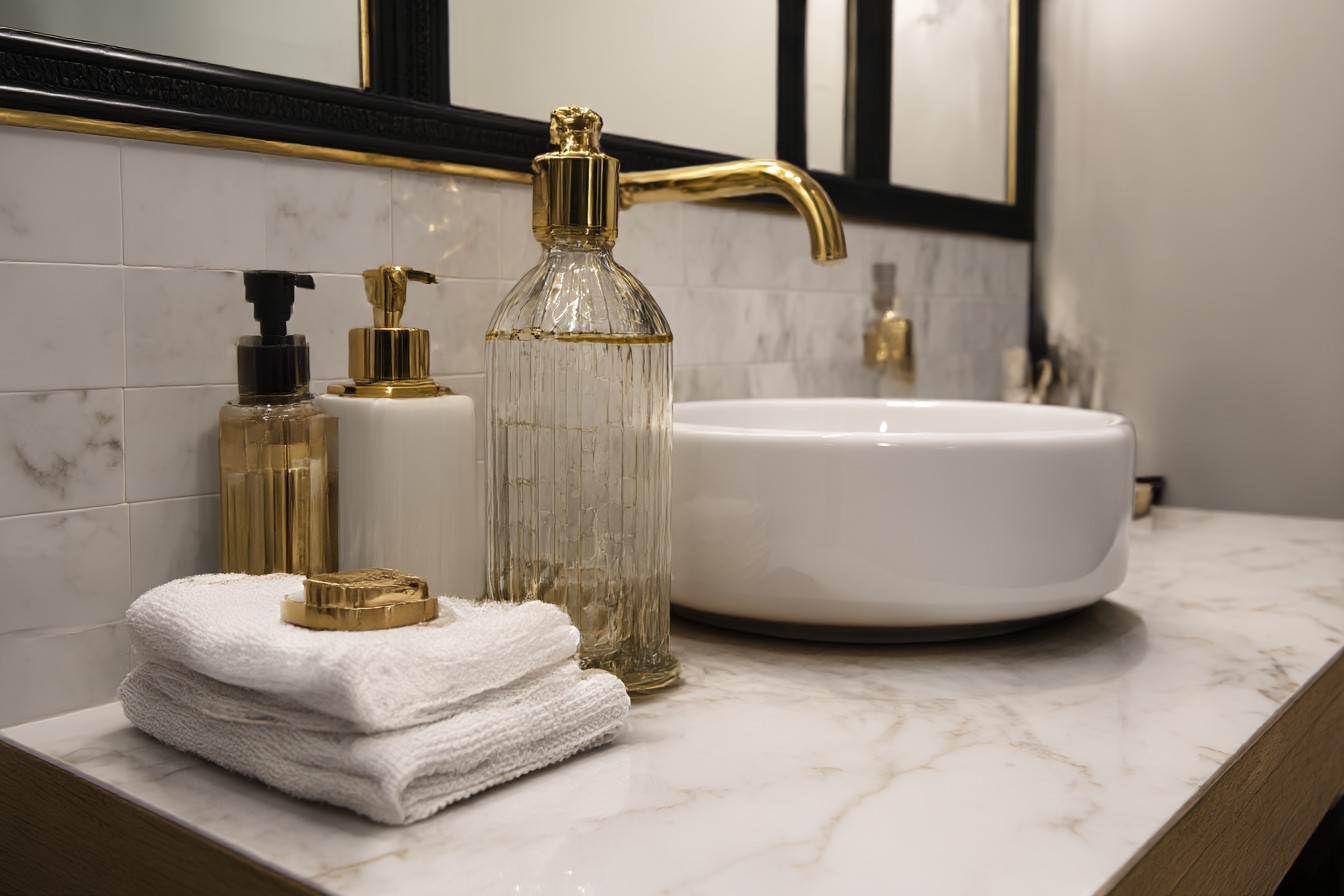
With the main elements addressed, we turned to the shower. A complete re-tile was off the table, but our beige fiberglass tub/shower combo desperately needed help. The magic solution turned out to be removing the old sliding glass doors—those cloudy, impossible-to-clean monstrosities with the aluminum track that always collected gunk.
We unscrewed the frame (preserving the wall surface behind it), then patched the screw holes with a bit of caulk. In place of the sliding doors, we installed a curved shower rod ($35) and a new fabric shower curtain ($30). This simple swap made the shower area look larger and more current while being completely reversible if needed. The best part? No more fighting with those squeaky sliding doors or scrubbing mineral deposits off the glass.
The toilet is rarely the star of the bathroom show, but a dated one can definitely drag down your refresh efforts. If yours is in good working order but visually tired, you don’t need to replace the entire unit. A new toilet seat (preferably a soft-close model for about $35) and a replacement lever ($15) can update the look without the hassle of removing and resetting the toilet.
In cases where the toilet has seen better days or is an outdated water-guzzler, a full replacement might be warranted. Modern toilets have gotten surprisingly affordable—basic models start around $100—and installation is straightforward for most DIYers with basic tools. The trick is making sure you get one with the same “rough-in” measurement (the distance from the wall to the center of the drain) as your existing toilet, which is usually 12 inches but can sometimes be 10 or 14 inches in older homes.
Now let’s talk about those dated tiles. Short of replacement, you have several options for making peace with less-than-ideal tile. If your tile is in that unfortunate pinky-beige family that dominated the 90s (like ours was), the simplest solution is to work with it rather than against it. We chose paint colors and accessories that intentionally coordinated with the tile’s undertones rather than fighting them.
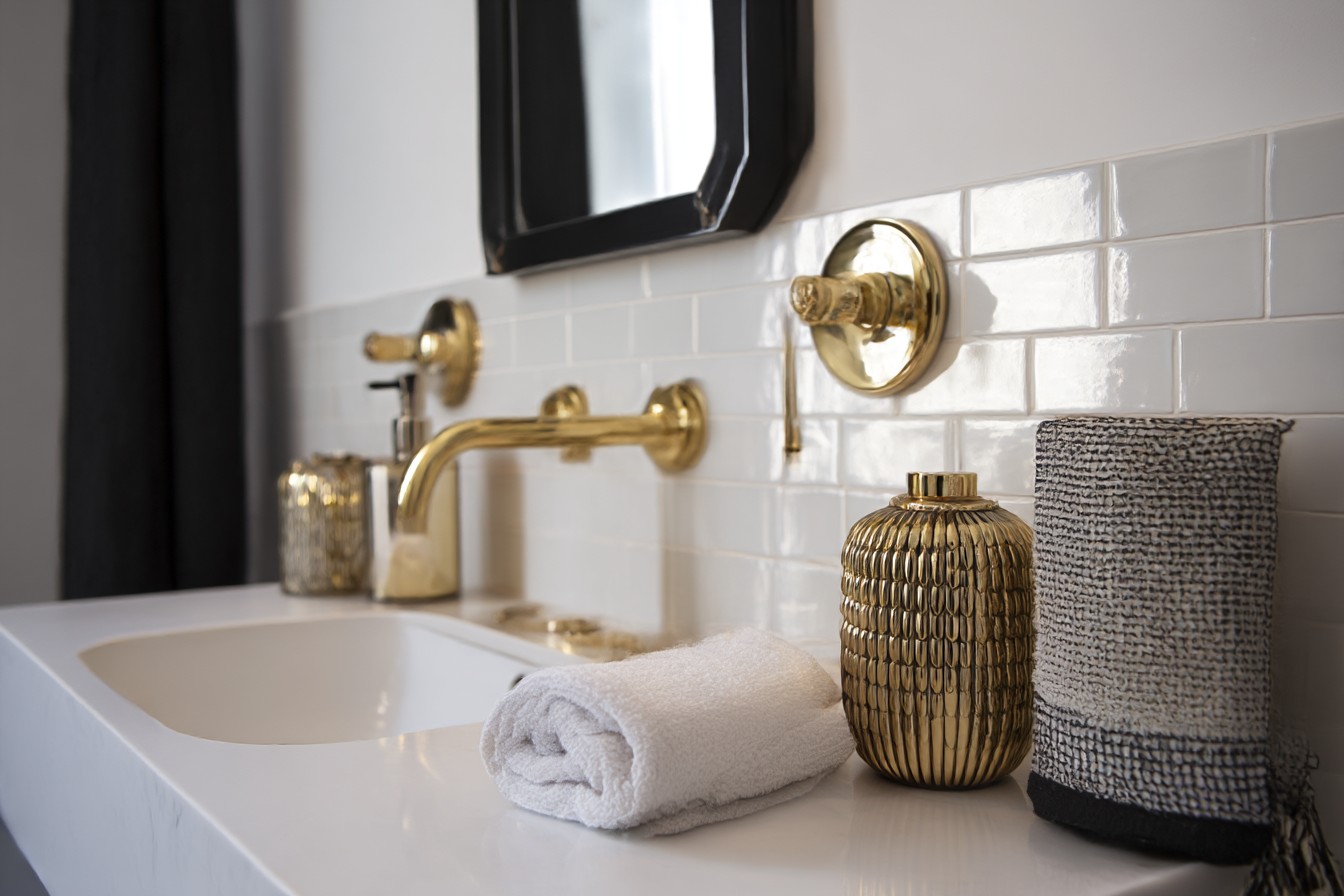
For wall paint, we selected a warm greige (Sherwin Williams Accessible Beige) that complemented rather than competed with the floor tile. This immediately made the tile look more intentional and less like something we were putting up with until we could replace it. The navy vanity provided enough contrast to create visual interest without clashing.
Another tile-taming strategy involves drawing attention elsewhere. A statement-making shower curtain, bold artwork, or interesting accessories can pull focus from dated tile by giving the eye more compelling places to land. We hung two vintage botanical prints in simple black frames above the toilet, creating a focal point that drew attention upward.
For truly problematic tile that’s in good condition but has a color or pattern you can’t stand, there are specialized tile painting kits available. These aren’t your standard house paints—they’re epoxy-based coatings designed specifically to adhere to ceramic surfaces. Results can be impressive when done carefully, though this is definitely a more involved project than other refresh elements we’ve discussed.
Bathroom hardware—towel bars, toilet paper holders, robe hooks—is the jewelry of the room and surprisingly impactful when updated cohesively. We replaced every hardware element with matte black accessories that matched our new faucet, creating a deliberate look rather than the mixed metals hodgepodge we had before. Basic towel bars and toilet paper holders run $15-25 each, making this an affordable update with significant visual payoff.
Don’t overlook textiles in your refresh strategy. New towels that coordinate with your color scheme, a fresh bath mat, and that shower curtain we mentioned earlier can soften the overall look of the bathroom and add intentional color. We chose thick white towels with a navy blue border that echoed our vanity color, creating cohesion without being too matchy-matchy.
The finishing touch for our refresh was proper lighting—not just replacing fixtures but reconsidering bulbs. Most builder bathrooms come with whatever basic bulbs the electrician had in their truck. Switching to high-CRI (Color Rendering Index) LED bulbs in the 2700K-3000K range gives a much more flattering light that makes both the room and its occupants look better. This $20 update is often overlooked but makes every other improvement shine its best.
All told, our weekend bathroom refresh came in at $787 and roughly 12 hours of active work spread over two days. The transformation was so dramatic that guests genuinely thought we’d done a full renovation—and given that a proper bathroom remodel in our area starts around $12,000 and typically takes 3-4 weeks, I’d call that a massive win.
The best part of this approach is its adaptability. Maybe your bathroom has different pain points than ours did. The refresh concept works regardless of which specific elements you target, as long as you focus on the items with the highest visual impact.
Is your ceramic tile in good shape but the grout looks like it’s been gathering grime since the Clinton administration? A good cleaning followed by grout sealer can work wonders. Are your fixtures fine but the caulk around the tub is yellowed and moldy? Removing and replacing caulk is a tedious but high-impact project that costs about $8 in materials.
Six months after our refresh, I can report that the improvements have held up beautifully, and the bathroom no longer feels like the forgotten space in our otherwise updated home. We’ll eventually do a proper renovation with all new tile and perhaps a reconfigured layout, but being able to buy ourselves several years with a weekend refresh has been a budgetary lifesaver.
The next time you find yourself wincing at a dated bathroom but dreading the thought of a full renovation, remember that the space between “living with it” and “gutting it” is wider than most people realize. With strategic updates to key visual elements, some basic DIY skills, and a weekend of work, you can create a space that feels refreshed and intentional without breaking the bank or your spirit.
And if your mother-in-law subtly questions your bathroom’s “vintage charm,” you’ll be prepared to transform it before her next visit. Trust me, the impressed look on her face is worth every minute of effort.