You know what haunts my renovation nightmares? That client call six months after a cabinet painting project when they sheepishly admit their “beautiful new kitchen” is now chipping like crazy, with coffee rings staining the once-pristine surfaces and mysterious sticky patches that won’t wipe clean. I got that call three times in my early consulting days before I learned the hard way that cabinet painting isn’t just regular painting with higher stakes—it’s practically an entirely different process.
Let me share something that might save your sanity and your budget: Most DIY cabinet paint jobs fail not because people choose the wrong color or don’t have basic painting skills, but because they skip crucial steps that professionals never would. I learned this firsthand when I painted the oak cabinets in my first Chicago apartment. I did what seemed logical—cleaned them, primed them, painted them with a paint the hardware store guy recommended. Six weeks later, I could literally peel off entire strips of paint with my fingernail. Not exactly the durable result I was hoping for.
Cabinet painting sits at this weird intersection between regular house painting and furniture refinishing, with the added challenge that we absolutely beat the hell out of our kitchen cabinets daily. Think about it—they get splashed with water, assaulted with pasta sauce, bumped by hip checks as we rush to answer the phone, and yanked open by sticky kid fingers approximately 10,000 times a year. Standard wall paint simply can’t handle that kind of abuse.
The good news? A properly executed cabinet paint job can last 8-10 years with minimal touch-ups, even in a busy family kitchen. The bad news? You’re gonna need to embrace a process that feels excessively meticulous and time-consuming. There’s simply no shortcut to durable painted cabinets, which is why professionals charge what they do.
So let’s break down the right way to do this, starting with the step most folks want to skip—but absolutely shouldn’t.
Proper prep work is where cabinet painting success or failure is determined, full stop. In my Minneapolis Tudor, we inherited 1990s honey oak cabinets that made the kitchen feel like a time capsule (and not in the cool, retro way). When we decided to paint them classic white instead of replacing them, I blocked off an entire week just for prep. My neighbor Tom thought I was crazy until he saw his own rushed weekend cabinet project start failing three months later.
First things first—remove EVERYTHING. And I mean everything. Every door, every drawer, every hinge, handle, and knob needs to come off. Label each piece with painter’s tape and a numbering system that tells you exactly where it goes back. Trust me on the labeling part—cabinet doors often look identical but have subtle differences that will drive you nuts during reinstallation if you can’t tell which goes where.
Remember those old cartoons where a character would paint themselves into a corner? That’s what happens when you try to paint cabinets in place. You can’t get proper coverage on the edges, you create weird brush marks trying to reach awkward spots, and you’ll be crying by hour three. Take the time to create a proper workspace—ideally in a garage or basement where pieces can remain undisturbed during drying time.
Next comes cleaning, which needs to be way more thorough than you’re probably thinking. Cabinets—especially in kitchens—accumulate an impressive layer of grease and gunk that will prevent any paint from properly adhering. When we bought Andrea’s parents’ 1970s ranch in Rochester to renovate and resell, the kitchen cabinets had 40+ years of cooking residue that regular household cleaners barely touched.
My go-to cabinet cleaner is TSP (trisodium phosphate), which cuts through kitchen grease like nothing else. You can find it at any hardware store for about $5. Just wear gloves, because this stuff means business. For really stubborn grime, you might need to follow with denatured alcohol on a lint-free cloth. The test is simple—if you run your hand across the surface and feel anything but perfectly smooth, clean wood or laminate, keep cleaning.
After thorough cleaning comes the step that separates successful cabinet jobs from future disasters—sanding. Even if your cabinets look perfectly smooth, you need to create a surface that paint can grip. I use 120-grit sandpaper for the initial scuff, followed by 220-grit for a final pass. You’re not trying to remove the existing finish completely—just creating enough texture for the primer to bond.
Here’s where many DIYers start cutting corners, thinking “these cabinets don’t really look like they need sanding” or “this paint says no sanding required!” Let me be crystal clear: I don’t care what the paint can promises—if you want your cabinet paint job to last through more than a season of holiday cooking, you need to sand.
After sanding comes what might be the most crucial step that almost everyone skips—using the right primer. This isn’t the place for the all-purpose primer you used on your bedroom walls. Cabinet-specific primers are formulated to create a bond coat that both sticks to the cabinet material and gives the topcoat something substantial to grip.
For most wood cabinets, I swear by BIN shellac-based primer or KILZ oil-based primer. Yes, they smell stronger than water-based alternatives. Yes, they’re more of a pain to work with. And yes, they make an enormous difference in durability. When I redid my sister’s kitchen in her 1950s Milwaukee colonial, we tested both shellac-based and water-based primers on the inside of a spare door. Six months later, the difference was obvious—the shellac-primed section remained perfectly intact while the water-based section showed wear at the edges.
For laminate or melamine cabinets—which are notoriously difficult to paint successfully—I recommend a specialty bonding primer like INSL-X Stix. It costs about twice what regular primer does, but considering it’s the difference between cabinets that last and cabinets that fail, it’s money well spent.
Apply your primer with either a high-quality synthetic brush for detailed areas or a foam roller for flat surfaces. The goal is a smooth, even coat without visible brush strokes or roller stipple. Let it dry COMPLETELY—which means following the manufacturer’s instructions rather than your impatient timeline. Most primers need at least 24 hours to properly cure before topcoating, regardless of how dry they feel to the touch.
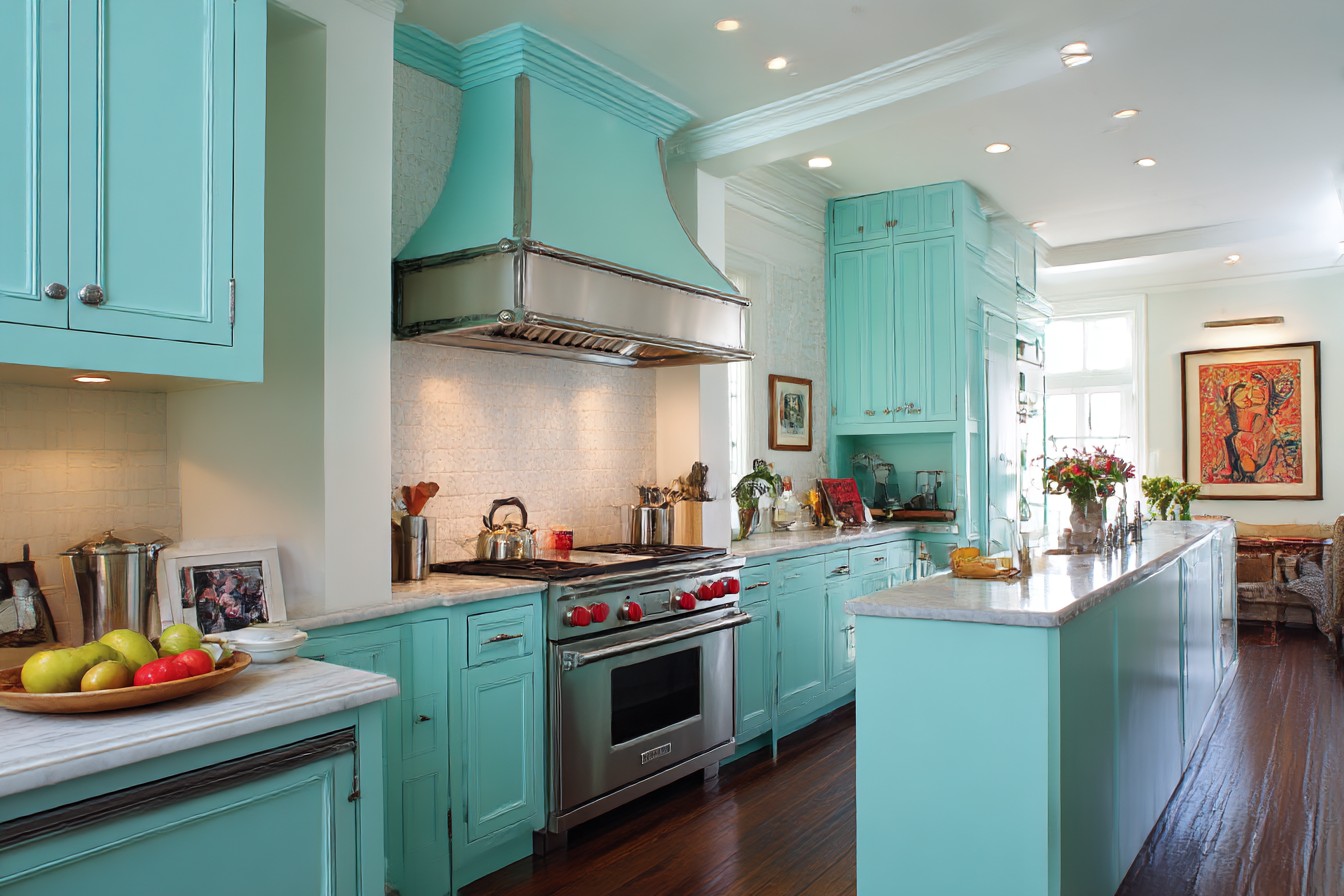
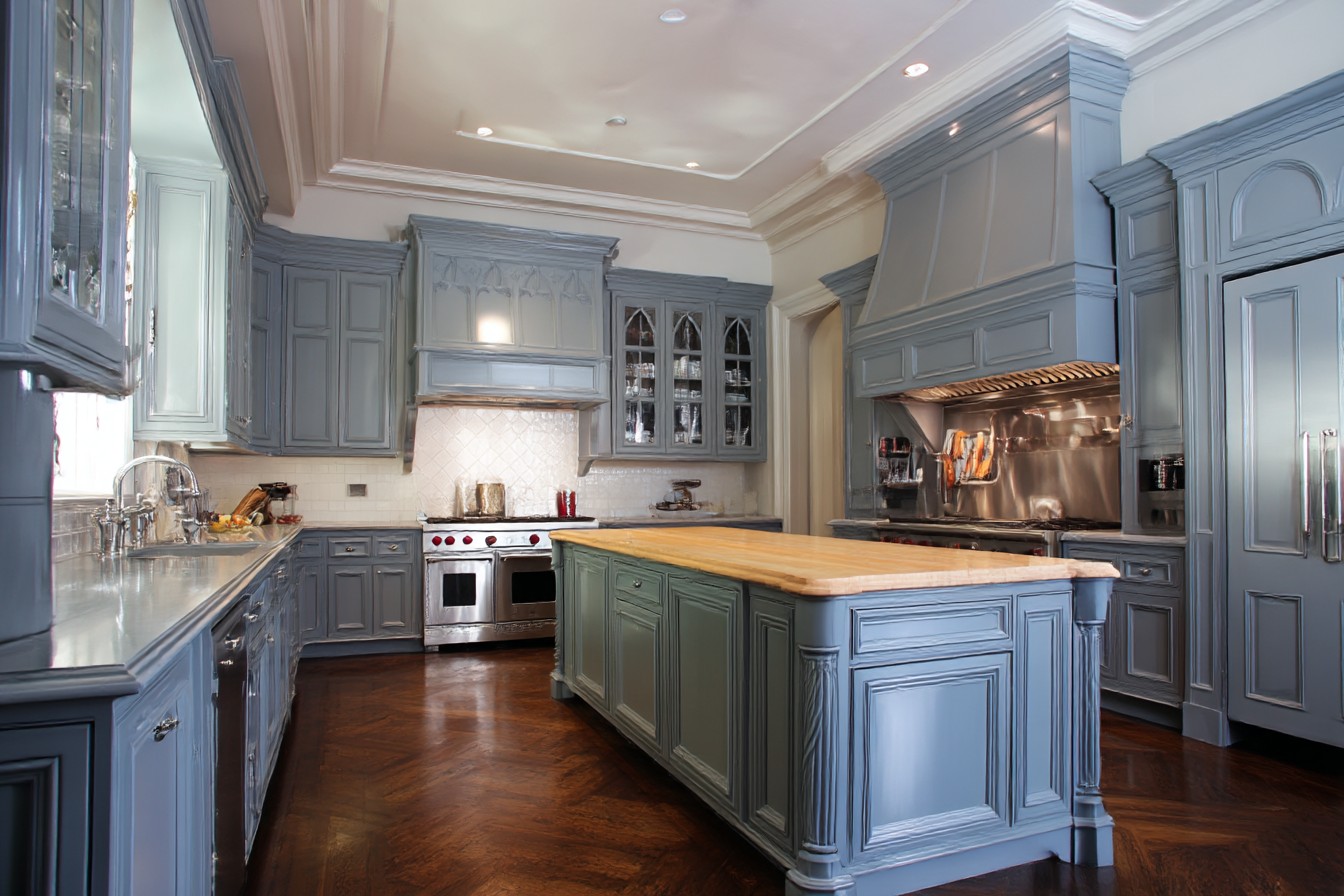
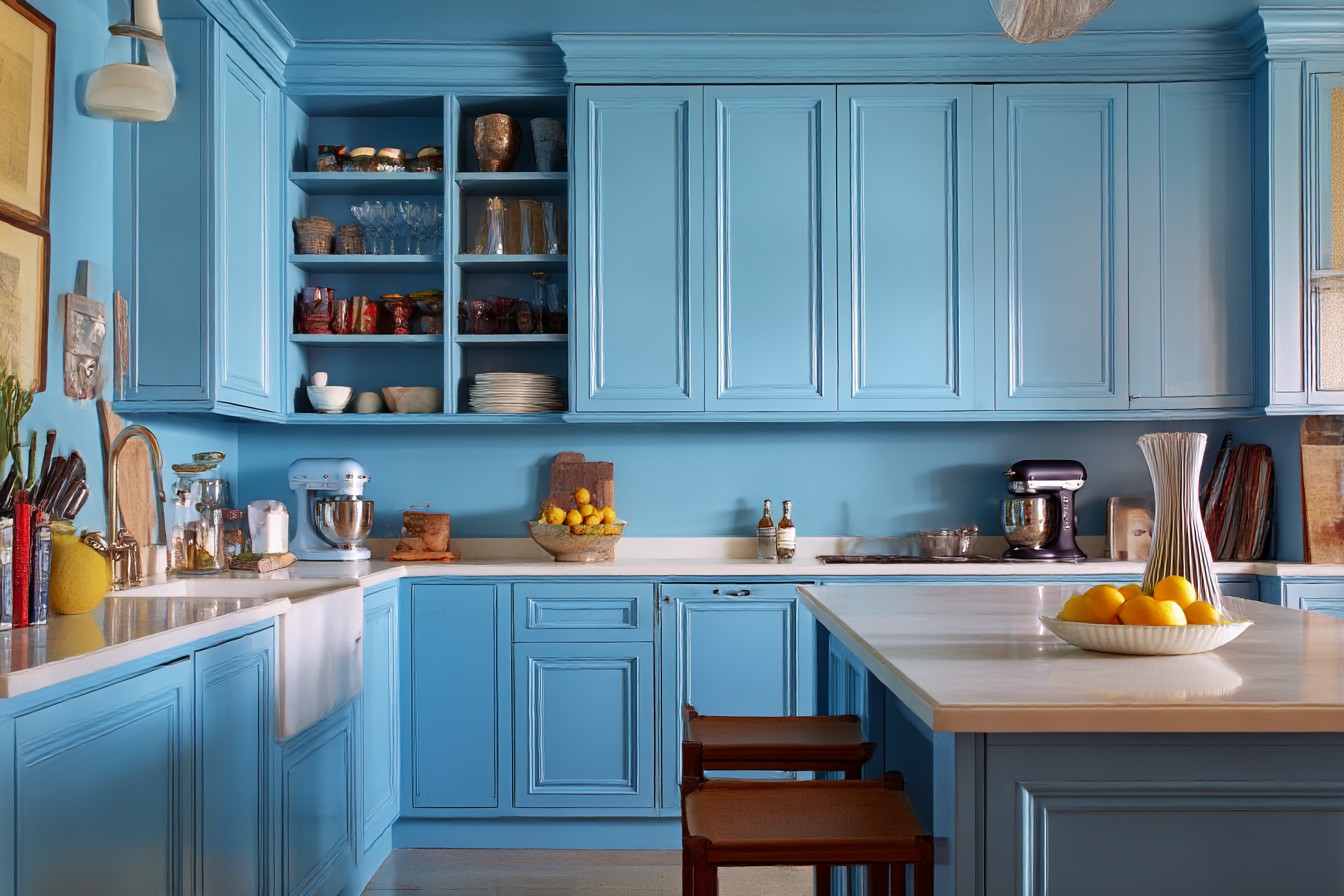
Now for the actual paint. Not all cabinet paints are created equal, and this is definitely not where you want to pinch pennies. After testing dozens of products across various price points in both my own homes and client projects, I’ve found certain formulations consistently outperform others for kitchen durability.
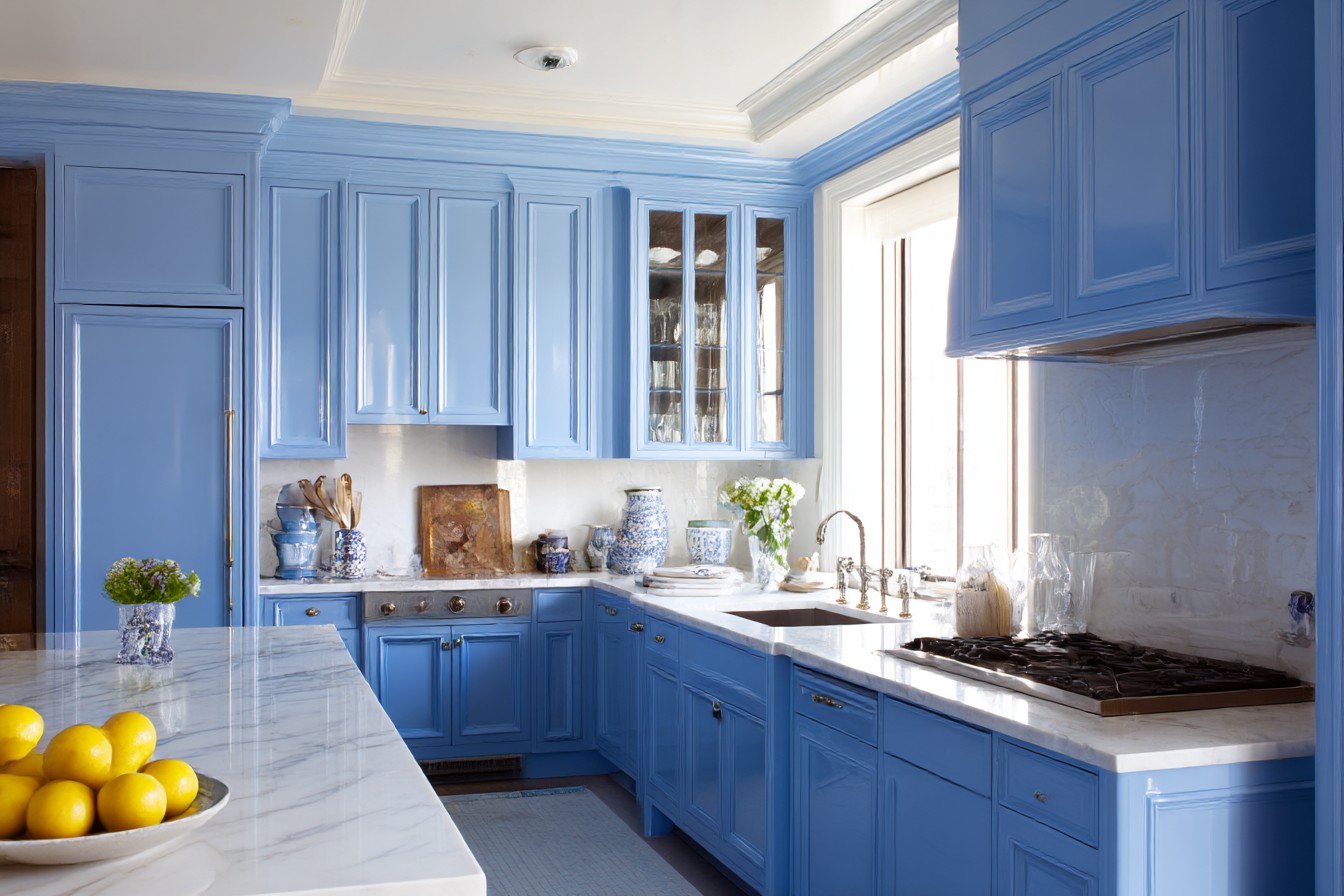
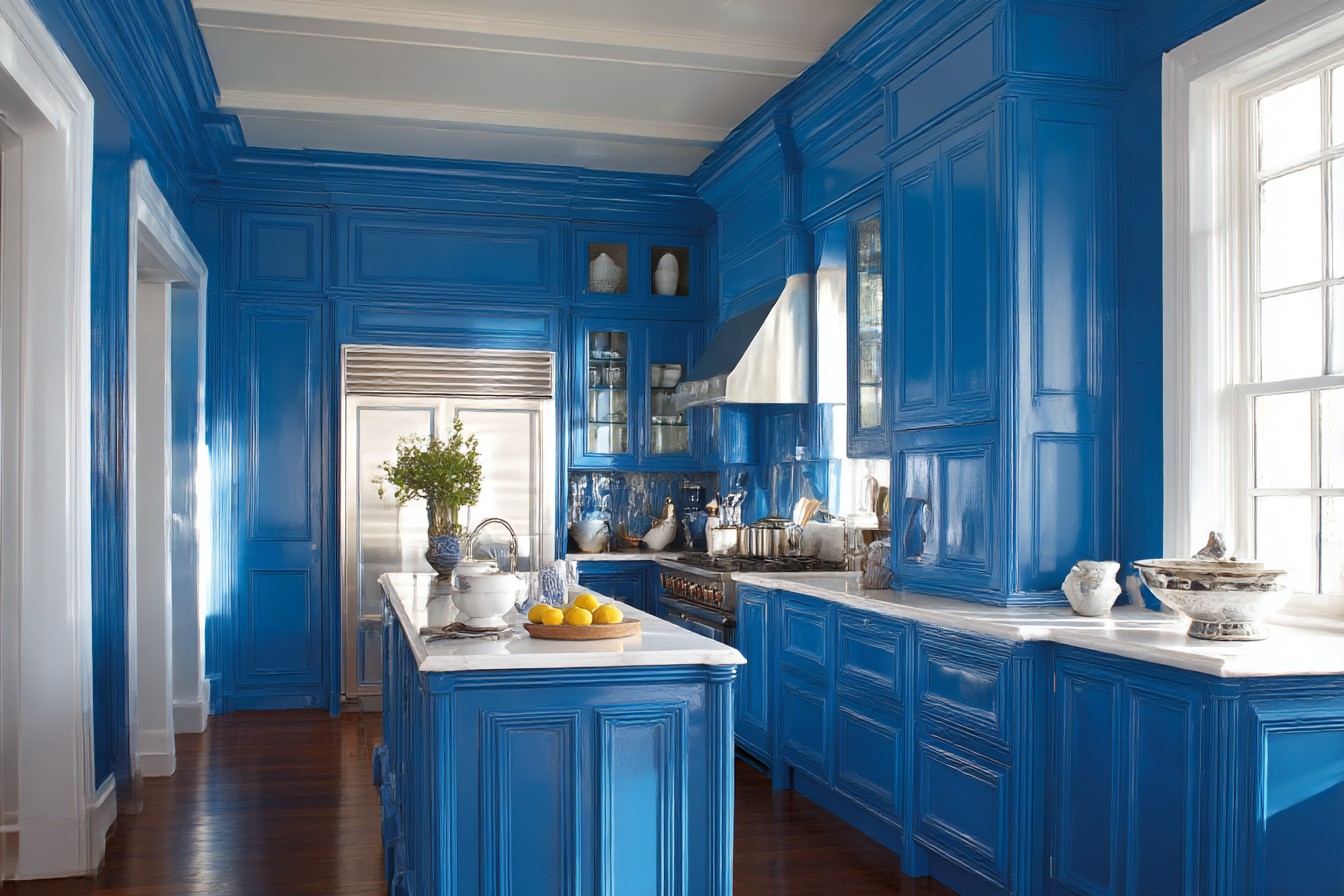
For a traditional painted cabinet look, Benjamin Moore Advance waterborne alkyd is my gold standard. It flows like an oil-based paint but cleans up with water and has significantly lower VOCs than traditional oil paints. The semi-gloss finish stands up to cleaning without looking plasticky. In my own kitchen, we used their “Simply White” on upper cabinets and “Hale Navy” on lowers, and after three years of daily use, they still look freshly painted.
For contemporary kitchens where a super smooth, almost factory-finish look is desired, I recommend Fine Paints of Europe Hollandlac Brilliant. Yes, it’s expensive (about $45 per quart), and yes, it requires careful application, but the results are spectacular and incredibly durable. We used it in a modern lakehouse project in northern Minnesota where the client wanted a piano-like gloss finish on the cabinets, and even the installation contractor asked if they were new custom cabinets rather than refinished stock ones.
For budget-conscious projects where specialized cabinet paint isn’t feasible, a good quality regular semi-gloss or high-gloss paint can work if—and this is a big if—you apply a clear water-based polyurethane topcoat for added durability. Just make sure the paint is fully cured (at least 72 hours) before applying poly to avoid trapping moisture between layers.
Application technique matters almost as much as the products you choose. For cabinet doors and drawer fronts, I’ve found the most reliable method is:
1. Apply thin coats rather than thick ones
2. Use a combination of foam roller for flat areas and good synthetic brush for details
3. Follow the wood grain direction when brushing
4. Allow proper drying time between coats (usually 24+ hours)
5. Lightly sand with 320-grit sandpaper between coats
6. Apply at least two coats of paint, three for darker colors
Temperature and humidity significantly impact paint curing, which is why professional cabinet painters often work in controlled environments. When Andrea and I painted her brother’s kitchen cabinets during a humid Chicago summer, we actually rented a portable air conditioner and dehumidifier to keep the basement workspace around 70°F with 50% humidity. Extreme conditions can cause paint to dry too quickly (leading to brush marks) or too slowly (leading to dust nibs and improper curing).
The final step that separates amateur jobs from professional results is proper curing time before reinstallation. I know you’re eager to get your kitchen back together—believe me, I’ve been there with takeout containers piling up and a spouse asking daily when we can cook again. But cabinet paint needs at least 7 days (and ideally 14+) to properly harden before being subjected to the rigors of daily kitchen life.
When we painted cabinets for my cousin’s vacation rental in Duluth, I insisted they remain untouched for a full two weeks before the hardware went back on. The property manager thought I was being ridiculous until I explained that proper curing time is the difference between cabinets that last through years of rental use versus ones that need touching up after the first busy season.
Speaking of hardware—this is your opportunity to dramatically change the look of your cabinets for relatively little money. Swapping out dated pulls for contemporary ones can make even budget cabinet painting look high-end. Just make sure any new hardware uses the same hole configuration as the old ones, or be prepared to fill and redrill.
One last pro tip that’s saved countless client cabinets: Apply a thin bead of clear silicone caulk where the cabinet doors meet any glass inserts. This prevents moisture from sneaking behind the glass and causing the paint to fail from the inside out—a common problem in older cabinets that’s easily prevented during refinishing.
The reality is that properly painting kitchen cabinets is one of those projects that looks deceptively simple on 30-minute renovation shows but actually requires significant time, patience, and attention to detail. Is it worth it? When you consider that a good DIY cabinet painting job runs about $200-500 in materials versus $15,000+ for new custom cabinets, I’d say absolutely—provided you don’t take shortcuts that guarantee failure.
My painted kitchen cabinets in Minneapolis are going on four years now with only one tiny chip where my nephew got a little too enthusiastic closing a drawer. Given that I cook nearly every day in that kitchen, I’d call that a pretty solid return on investment for what was admittedly a solid week of labor. Just remember—when it comes to cabinet painting, the process is the product. Respect the steps, and your results will speak for themselves.