The kitchen in my grandparents’ house had this wild floral wallpaper behind the sink that somehow survived thirty years of Minnesota humidity. When we finally peeled it off during my high school summer break, we found newspaper from 1962 underneath—complete with Kennedy headlines and ads for 29-cent pot roast. Pop supervised as Dad and I installed a simple 4-inch white tile backsplash that Mom had picked out at the local hardware store. Nothing fancy, but man, that kitchen looked like it had time-traveled forward about three decades in a single weekend.
That was my first backsplash project, and I’ve been a believer in their transformative power ever since. Look, I’m usually the guy who tells you that structural issues trump cosmetic ones every day of the week. I’ve walked away from perfectly “updated” flips because they had foundation problems or electrical nightmares hiding behind those pretty subway tiles. But here’s the thing—sometimes a purely visual upgrade is exactly what you need, especially when your kitchen functions fine but looks like it’s still waiting for Y2K to hit.
I was reminded of this last month when my cousin Jake called me about his 1990s builder-grade kitchen. “I can’t afford a full remodel right now,” he admitted, “but I’m going crazy looking at these beige walls and oak cabinets every morning.” Jake and his wife had just moved into their first house—a 1994 split-level in a Minneapolis suburb—and the kitchen was structurally sound but aesthetically stuck in the era of Friends and dial-up internet.

After seeing some photos, I suggested focusing on the backsplash as the highest visual impact for the lowest investment. Their existing setup was just painted drywall between the counters and cabinets. No tile, no nothing. Just builder beige that had gradually aged to a color I can only describe as “forgotten mustard.”
“But isn’t that complicated?” Jake asked, clearly picturing the horror stories his buddy had shared about a bathroom remodel gone wrong. This is where I get to be the bearer of good news—backsplash projects are the perfect sweet spot of DIY. They’re small enough in scale that you can finish in a weekend, but impactful enough that your kitchen feels completely different Monday morning. You’re not messing with plumbing or electrical (usually), you’re not tearing out cabinets, and you’re working with a relatively small square footage. It’s the home improvement equivalent of getting a haircut instead of full plastic surgery.
Now, you gotta understand something about tile work—it’s intimidating until you actually do it, and then you wonder why you were so scared. I’ve taught weekend workshops at the community center for years, and watching that “click” moment when homeowners realize they can actually do this stuff themselves never gets old.
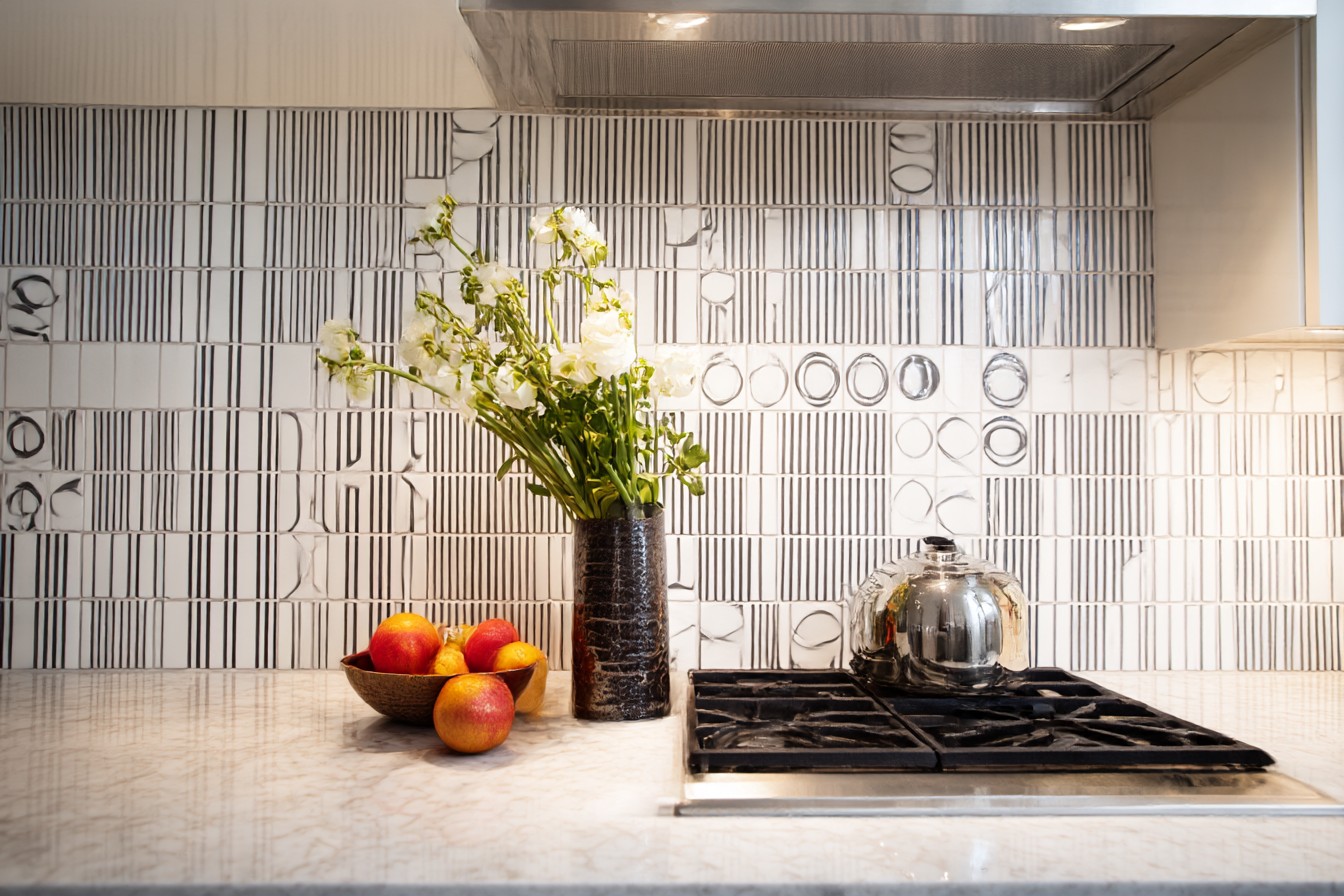
For Jake’s project, we settled on a classic white subway tile with gray grout. Yeah, I know what you’re thinking—subway tile is everywhere these days. But there’s a reason for that beyond HGTV making it trendy. It’s affordable (around $0.22 per tile at our local big box store), it’s timeless enough that it won’t look dated in five years, and the rectangular shape is forgiving for beginner installers. If you mess up slightly on your cuts or spacing, the pattern helps hide it. Try that with complicated hexagons or herringbone and, well… let’s just say I’ve seen grown men cry trying to line up fancy patterns on their first tile project.
I drove over on a Saturday morning with my tools and found Jake and his wife Megan already clearing the counters. Good sign—they were ready to work. First step was protecting those laminate countertops with rosin paper and painter’s tape. I always tell folks this step isn’t optional unless you want to spend Sunday night scraping thinset and grout off your counters with a razor blade (which, trust me, is exactly as fun as it sounds).

The prep work is honestly the most important part of any tile job. “Measure twice, cut once” isn’t just some cute saying your grandpa had on a workshop sign—it’s gospel. We spent a good hour just mapping out the tile layout, finding the centerline of each wall section, and marking level lines. Jake got antsy, clearly wanting to start sticking tiles to the wall, but I made him go through the whole process.
“You’re only gonna do this once,” I reminded him, “so you might as well do it right.”
He thanked me later when we realized the power outlet covers weren’t aligned in a straight line (whoever installed them clearly had a creative interpretation of “level”), and we had to adjust our layout to minimize weird cuts around them. This is what I mean about houses talking to you—you gotta listen before you start working. Every home has its quirks, and ignoring them doesn’t make them go away; it just makes your finished project look amateur.
With the layout sorted, we mixed up some thinset mortar. I showed Jake the peanut butter consistency we were looking for—not so soupy it drips down the wall, not so thick it won’t spread. Megan turned out to have a natural talent for applying it with the notched trowel, creating these perfect little ridges. “It’s just like frosting a cake,” she said, laughing.
We worked in sections about 2 feet wide, starting from the bottom and working up. Those little 1/8-inch plastic spacers are lifesavers for keeping your lines straight, though I’ve used pennies in a pinch when I’ve run out. By lunchtime, we had one wall section complete, and I could already see Jake and Megan getting excited. Even without grout, the difference was striking.
After a quick sandwich break (and Jake introducing me to some craft beer from a local brewery that was way too hoppy for my taste—what happened to normal beer, anyway?), we knocked out the rest of the tile installation. The trickiest part was cutting around the outlets, which we handled with a simple wet saw I’d brought over. You can rent these for about $30 a day from any big box store, and they’re worth every penny compared to trying to make do with a tile nipper or score-and-snap cutter for anything beyond the most basic straight cuts.
We let the thinset cure overnight, which gave Jake and Megan time to second-guess their grout color choice. I’ve seen this happen on literally every tile project I’ve ever been involved with—that moment of panic where you wonder if the light gray you chose is going to be too dark or the dark gray too dramatic. I talked them off the ledge (the mid-tone gray they’d originally picked was perfect) and we met up again Sunday morning for grouting.
Grouting is messy, satisfying work. We mixed up the powdered grout with water to get that smooth mashed potato consistency, then used a rubber float to push it into all the joints. The transformation as you wipe away the excess grout is almost magical—suddenly those individual tiles become a cohesive surface. Jake got really into the process, perfecting his technique of holding the float at a 45-degree angle to pack the joints without gouging out the grout.
After the initial cleanup and a couple rounds of haze removal (that cloudy film that develops as the grout dries), we called it a day. The next weekend, I came back to help apply sealer to the grout lines—a step too many DIYers skip, then regret the first time tomato sauce splashes on their beautiful new backsplash and permanently stains the grout.
All in, the materials cost about $275, including the tile, thinset, grout, sealer, and a few new tools Jake didn’t already own. That’s a far cry from the $2,500-4,000 a contractor would charge for the same job in our area. And now Jake has the confidence (and tools) to tackle the guest bathroom himself later this year.
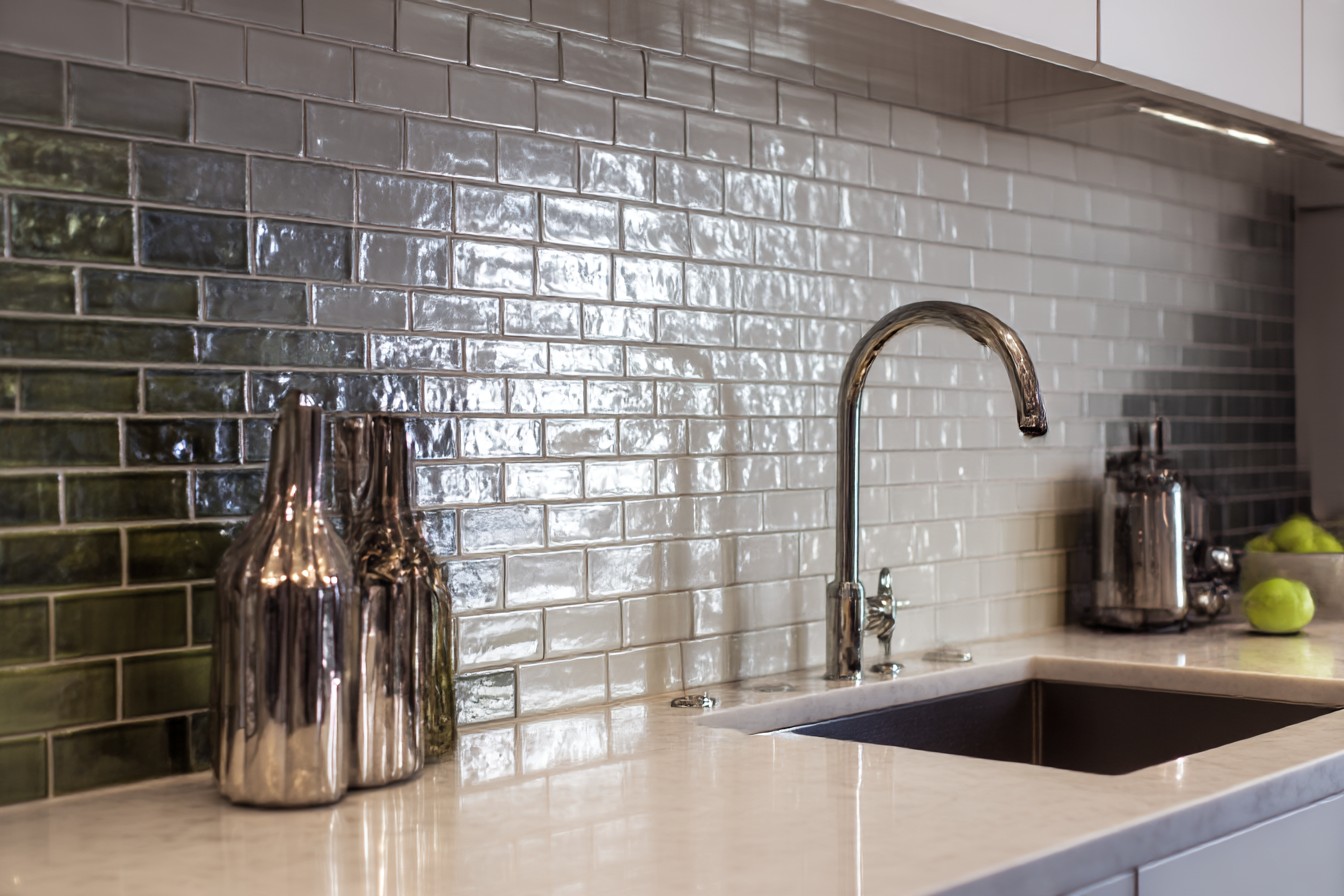
But the real payoff was how dramatically the kitchen changed. Those dated oak cabinets that had bothered them so much? They actually looked intentionally warm and classic against the crisp white tile. The countertops, which were a speckled neutral they hadn’t loved but couldn’t afford to replace yet, suddenly seemed to tie everything together. Megan texted me a photo the next week after they’d added some new cabinet hardware and painted the walls a soft gray—I honestly wouldn’t have recognized it as the same kitchen.
That’s the magic of a backsplash update. It’s this relatively small surface area that has outsized visual impact because it’s at eye level and typically in the busiest room of your house. You notice it constantly, unlike, say, baseboards or ceiling texture. And while I’m usually the guy arguing for prioritizing unsexy improvements like insulation or upgraded electrical panels, I’ll be the first to admit that sometimes what you really need is a win—a project that gives you daily satisfaction and makes your house feel more like home.
If you’re considering your own backsplash project, start by really looking at your kitchen. What are the elements you can’t change right now? Your cabinets, countertops, and flooring create a palette you’ll need to work with unless you’re doing a complete renovation. Choose a tile that complements what’s staying rather than fighting against it. And despite what those home reno shows suggest, you don’t need to create some kind of “statement wall” with exotic imported glass tile that costs $50 per square foot. Sometimes the most timeless solution is also the most affordable.
And hey, if you mess up a cut or your lines aren’t perfectly level? Remember that houses built before CNC machines and laser levels have survived just fine with their slight imperfections. In my book, a backsplash with character beats builder-grade beige walls any day of the week. Just make sure you seal that grout, or you’ll be cursing your past self the first time you make spaghetti sauce.